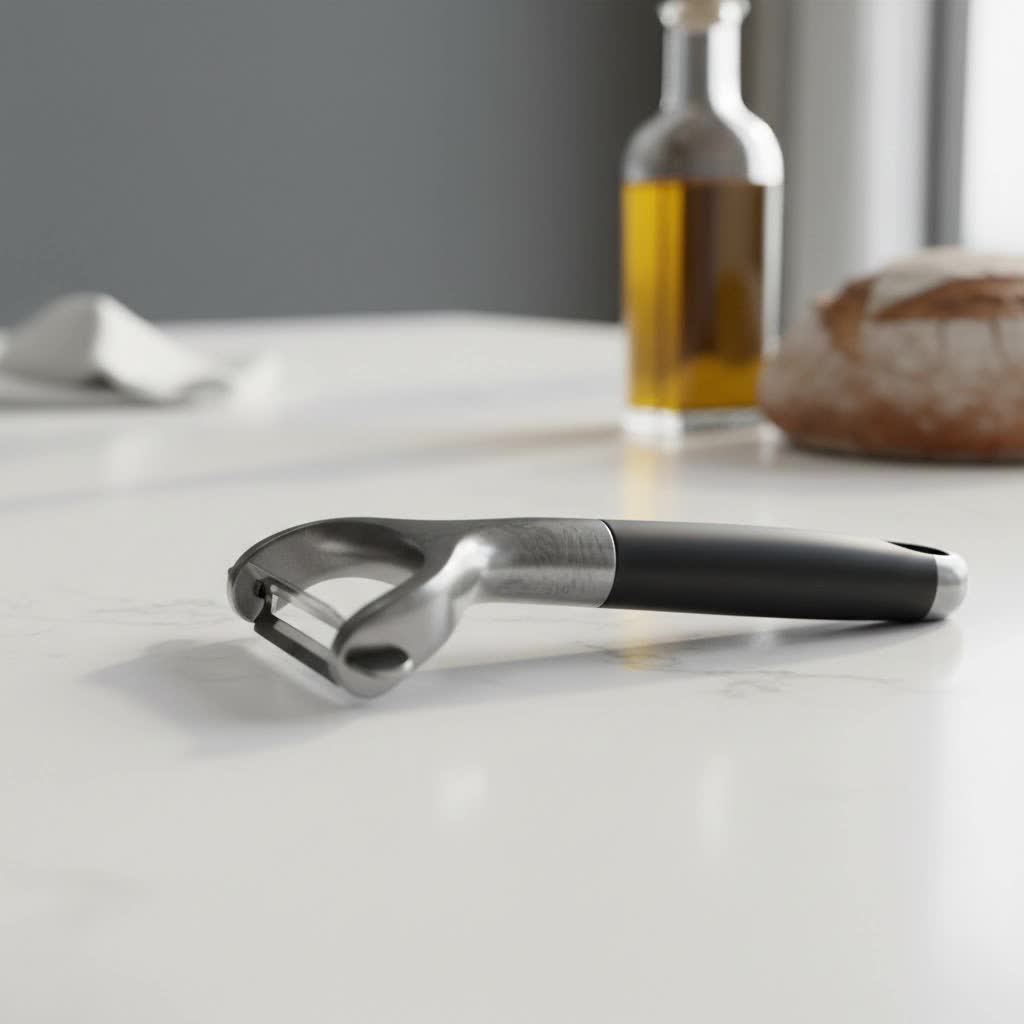
A dull potato peeler can turn a simple task into a frustrating chore. If you find yourself applying excessive pressure, making multiple passes, or struggling to remove peels, it’s a clear sign your kitchen workhorse has lost its edge. Many assume potato peelers are inexpensive, disposable tools, destined for the bin once they’re no longer razor-sharp. However, with a few simple techniques and common household items, you can effectively sharpen your potato peeler, restoring its efficiency and extending its lifespan. This comprehensive guide will walk you through everything you need to know, from understanding your peeler’s blade to mastering various sharpening methods, ultimately saving you money and making your kitchen tasks smoother and safer.
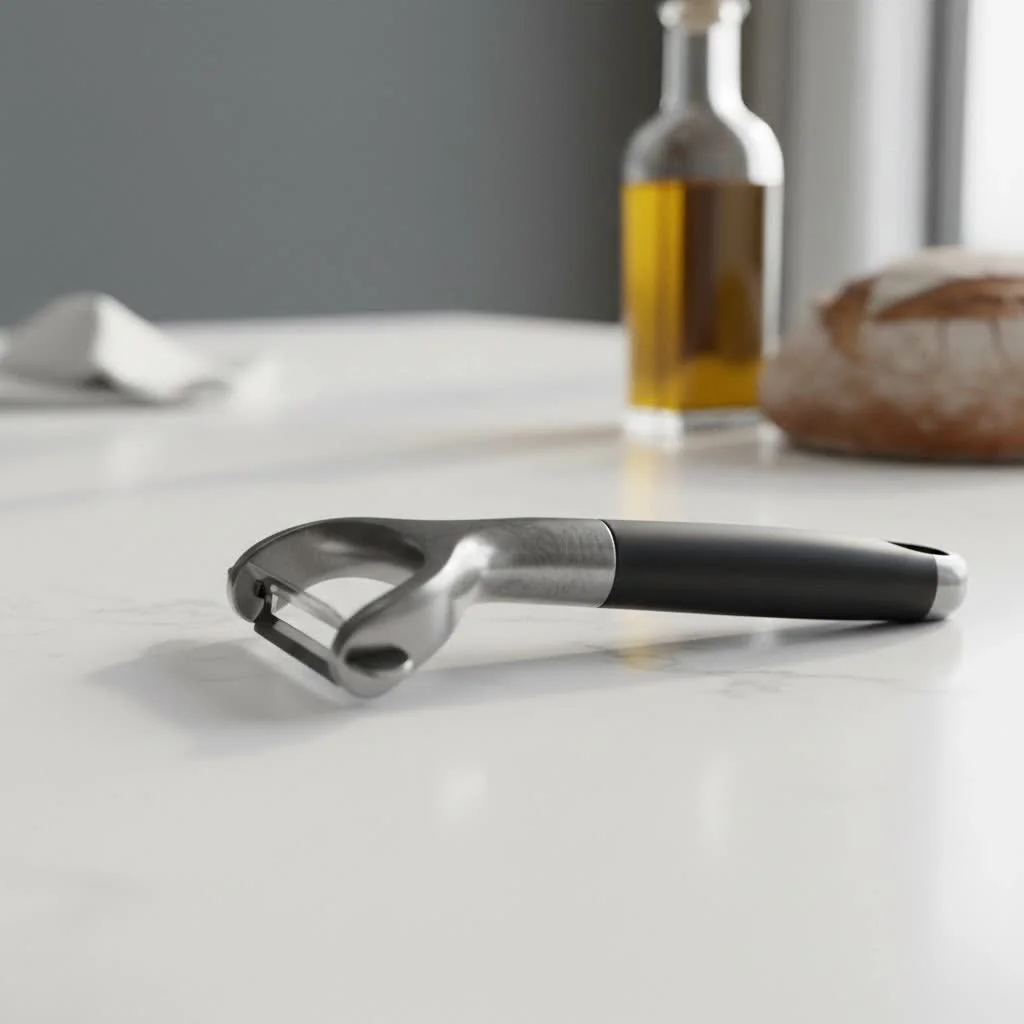
Why a Sharp Potato Peeler Matters: Understanding Your Tool
A sharp potato peeler isn’t just a convenience; it’s a fundamental aspect of kitchen efficiency and safety. When your peeler’s blade is keen, it glides through vegetable skins with minimal effort, reducing the risk of slips and accidental cuts. Dull blades, on the other hand, require more force, increasing the chance of the peeler skidding off the produce and onto your fingers. Beyond safety, a sharp peeler ensures a thin, consistent peel, minimizing waste and preserving more of the nutrient-rich layers close to the skin. For compare top kitchen tools on this site.
Potato peelers come in various designs, most commonly straight (or “stick”) and Y-shaped. Within these categories, you’ll find fixed blades and swivel blades. Swivel peelers, with their flexible blades, conform to the contours of fruits and vegetables, making them highly effective. Understanding your peeler’s design is crucial, as it influences the best approach to sharpening. Regardless of type, when your peeler no longer peels cleanly or requires considerable pressure, it’s time to restore its edge.
Factors Affecting Sharpening a Potato Peeler
Not all potato peelers are created equal when it comes to sharpening. Several factors, primarily related to the blade itself, determine how successfully you can restore its sharpness.
Blade Material
The material of your peeler’s blade is the most critical factor. Most potato peeler blades are made from either stainless steel or carbon steel.
- Stainless Steel/Carbon Steel: These are the most common and, fortunately, the most amenable to sharpening. With the right tools and technique, you can easily restore a keen edge. High-quality steel, like Japanese VG-10 stainless steel, offers superior edge retention and can be sharpened repeatedly.
- Ceramic: While ceramic peelers start incredibly sharp, they are notoriously difficult for home sharpening. Ceramic is brittle and requires specialized diamond sharpeners to re-edge, often making professional sharpening or replacement the more practical option.
- Serrated: Peelers with serrated blades are also generally not suitable for conventional sharpening methods at home. Their unique tooth-like edge is designed to grip slippery skins, and attempting to sharpen them with standard tools can damage the serrations.
Blade Design (Fixed vs. Swivel)
|
Our Picks for the Best Potato Peeler in 2026
As an Amazon Associate I earn from qualifying purchases.
|
||
| Num | Product | Action |
|---|---|---|
| 1 | Beneno Swivel Vegetable Peeler, Razor-Sharp Smooth Peeling Potato Peelers with Stainless Steel Blades, Ergonomic Comfort Non-Slip Rubber Handle, Durable Kitchen Peelers with Potato Eye Remover, Black |

|
| 2 | OXO Good Grips Y-Peeler |
|
| 3 | Farberware Euro Peeler, a Kitchen Essential for Quick and Easy Peeling of Produce, Chocolate, Cheeses and More. Features Hang-Hole for Easy Storage, Dishwasher Safe, Black |
|
| 4 | Vegetable, Apple Peelers for kitchen, Fruit, Carrot, Veggie, Potatoes Peeler, Y-Shaped and I-Shaped Stainless Steel Peelers, with Ergonomic Non-Slip Handle & Sharp Blade, Good Sturdy (2PCS) |
|
| 5 | Vegetable Peeler, Multifunction Potato Peelers Stainless Steel Julienne Peeler for Carrots Potatoes Cucumber Squash Melons Fruit |
|
| 6 | OXO Good Grips Swivel Vegetable Peeler |
|
| 7 | Starfrit Rotato Express Electric Peeler - 2 Spare Blades - Safe & Easy to Use - Effortlessly Peels Vegetables and Fruit |
|
| 8 | 2Packs Premium Vegetable Peeler with Wooden Handle and Bottle Opener Stainless Steel Blade Kitchen Tool for Fruit A pple Potato Pumpkin Papaya Zucchini, With Fruit/Vegetable Brush |
|
| 9 | Spring Chef Premium Swivel Vegetable Peeler, Soft Grip Handle and Ultra Sharp Stainless Steel Blades - Perfect Kitchen Peeler For Veggie, Fruit, Potato, Carrot, Apple - Black |
|
| 10 | Linden Sweden Original Jonas Vegetable Peeler - Rust Resistant Silver Carrot and Potato Peeler with Ergonomic Handle for Safety and Control - Dishwasher Safe and Compact - Made In Sweden - 6.5in |
|
The way the blade is mounted also plays a role in the sharpening process.
- Swivel Blades: These blades are designed to pivot, which makes them excellent for peeling but can pose a challenge during sharpening. To sharpen a swivel peeler effectively and safely, you’ll often need to stabilize the blade. Using a piece of cardboard or a cutting board underneath can help prevent it from moving excessively.
- Fixed Blades: Fixed-blade peelers, common in some straight peeler designs, are generally more straightforward to sharpen as the blade remains rigid throughout the process.
Blade Angle
Like any cutting tool, a potato peeler has a specific blade angle that determines its cutting efficiency. While not as precise as knife sharpening, understanding that you need to maintain a consistent, shallow angle (often between 15 to 20 degrees for honing rods) is key to effective sharpening. The goal is to replicate the original bevel of the blade as closely as possible.
Comparing Common Potato Peeler Sharpening Methods
Many tools can be used to sharpen a potato peeler, ranging from dedicated sharpening equipment to everyday household items. Here’s a comparison of common methods:
| Method | Tools Required | Best For | Notes |
|---|---|---|---|
| Honing Rod/Knife Steel | Honing rod, cutting board, clean cloth | Realigning edges, light sharpening | Excellent for maintenance and restoring a slightly dull edge. Works by realigning the microscopic edge rather than grinding away material. Hold at a 15-20 degree angle. Often included in knife sets. |
| DMT Diamond Flat File | Diamond file, cardboard (for swivel) | More aggressive sharpening, worn edges | Effective for creating a new edge on significantly dull blades. Diamond abrasives are very hard. Gentle, even pressure is key. Cardboard helps stabilize swivel blades. |
| Whetstone/Diamond Rod | Whetstone or diamond rod, water | Restoring a true edge, more precise | Allows for more control over the blade’s bevel. Grind the bevel flat against the narrow side of the stone/rod. Can create a burr that needs to be removed. Requires some practice to maintain a consistent angle. |
| Sandpaper Method | 220-grit sandpaper, piece of wood | Restoring very dull blades, accessible DIY | A cost-effective solution. Wrap sandpaper around a stick or piece of wood to provide a firm, angled surface. Follow the original blade angle and ensure even strokes. |
| Ceramic Mug Trick | Ceramic mug (underside), clean cloth | Quick touch-ups, emergency sharpening | A simple, surprisingly effective hack for minor dullness. The unglazed bottom of a ceramic mug provides a fine abrasive surface. Not suitable for severely dull blades or significant edge repair. Use an old mug you don’t mind damaging. |
Each method offers distinct advantages depending on the peeler’s current state and your comfort level with sharpening tools. A honing rod is ideal for regular maintenance, while a diamond file or whetstone is better for restoring a truly dull edge.
A Step-by-Step Guide to Sharpening Your Potato Peeler
Sharpening a potato peeler is a straightforward process, but it requires patience and attention to detail. Always prioritize safety.
Gathering Your Tools
Before you begin, ensure you have the necessary tools:
- Your dull potato peeler (stainless steel or carbon steel blade)
- Selected sharpening tool (honing rod, diamond file, whetstone, or 220-grit sandpaper wrapped around a small piece of wood)
- A cutting board or sturdy surface for stability
- A clean dishtowel
- A piece of cardboard (especially for swivel peelers)
- Safety gloves (optional, but highly recommended)
Sharpening with a Honing Rod or Knife Steel
This method is excellent for realigning the blade’s edge and maintaining sharpness.
- Stabilize the Peeler: Place the peeler on a cutting board, pressing down firmly to prevent it from moving. If it’s a swivel peeler, place a piece of folded cardboard under the blade to keep it steady.
- Position the Rod: Hold the honing rod or knife steel against one of the peeler’s blades. Aim for a shallow angle, roughly 15 to 20 degrees, trying to match the original bevel of the blade.
- Apply Light Pressure: With light, consistent pressure, draw the rod along the length of the blade several times. The goal is to push the microscopic edge back into alignment.
- Repeat on the Other Side: Flip the peeler or adjust your grip and repeat the process on the other cutting edge. Many peelers have dual-sided blades, so ensure both sides are honed.
- Clean and Test: Wipe the blade with a clean dishtowel to remove any metal particles. Then, test its sharpness.
Using a Whetstone or Diamond Rod
For a more precise and aggressive sharpening, a whetstone or diamond rod is effective.
- Prepare the Stone: If using a whetstone, soak it in water for a few minutes until it stops bubbling. For a diamond rod, no preparation is needed.
- Stabilize the Peeler: As with the honing rod, secure your peeler on a stable surface, using cardboard for swivel blades if necessary.
- Grind the Bevel: Carefully lay one side of the peeler’s cutting edge flat against the narrow side of the whetstone or diamond rod. Maintain the peeler’s original blade angle and gently rub it back and forth a few times. The objective is to grind the bevel flat.
- Deburr: After sharpening one side, you might feel a slight burr (a tiny ridge of metal) on the opposite side of the blade. Gently remove this by performing one or two light passes on the backside, tilting the blade slightly.
- Repeat for the Second Blade: If your peeler has two cutting edges, repeat the entire process for the second blade.
- Clean and Test: Thoroughly clean the peeler and test its sharpness.
The Sandpaper Method
This DIY method is great for restoring very dull blades with minimal investment.
- Prepare Your Surface: Secure a piece of 220-grit sandpaper onto a flat, stable surface like a piece of wood or a hard plastic block.
- Angle the Blade: Place one of the peeler’s blades on the sandpaper, carefully following the angle that is already ground into the blade. You can support your thumb under the blade to prevent it from folding over, especially with swivel models.
- Sharpen: Apply gentle, even pressure and rub the blade across the sandpaper in one direction (away from the edge) for several strokes.
- Repeat for Other Side and Blade: Turn the peeler over and sharpen the other side of the blade, then repeat the entire process for the second cutting edge.
- Clean and Test: Wipe down the peeler to remove any abrasive particles before testing.
Quick Fix: The Ceramic Mug Trick
For minor dullness or a quick touch-up, a ceramic mug can do wonders.
- Find an Unglazed Bottom: Locate a ceramic mug with an unglazed, rough bottom rim. This rough surface acts as a fine abrasive.
- Scrape the Blade: Carefully scrape each side of the peeler’s blade along the unglazed underside of the mug. Use light pressure and make sure to do both cutting edges.
- Clean and Test: Wipe the peeler clean and test its restored sharpness. This method is surprisingly effective for minor dullness but won’t repair significant damage.
Safety First
- Always use caution: Potato peeler blades are small and sharp, even when dull.
- Use a stable surface: A cutting board or a steady countertop is essential to prevent slips.
- Consider gloves: Cut-resistant gloves can provide an extra layer of protection.
- Wipe away burrs carefully: Metal filings can be sharp.
Testing for Sharpness
After sharpening, you can test your peeler in a couple of ways:
- Paper Test: Gently try to slice a thin strip off a piece of paper. A truly sharp peeler will slice cleanly without tearing.
- Produce Test: Use the peeler on a potato or carrot. It should glide effortlessly, removing thin, continuous strips of peel with minimal pressure.
Maintaining Your Potato Peeler’s Sharpness: Tips and When to Replace
Once you’ve sharpened your potato peeler, proper care can significantly extend the life of its edge.
- Regular Honing: Incorporate quick honing with a steel or ceramic rod into your routine every few uses. This realigns the blade’s edge before it becomes truly dull, making full sharpening less frequent.
- Proper Cleaning: Wash your peeler immediately after use to prevent food particles from drying onto the blade, which can accelerate dulling and rust. Hand washing is preferable to dishwashers, as harsh detergents and high temperatures can damage the blade.
- Storage: Store your peeler safely to protect the blade. Avoid tossing it into a drawer where it can clang against other utensils, which can chip or dull the edge. A dedicated kitchen gadget holder or a magnetic strip is ideal.
Even with meticulous care and regular sharpening, there comes a time when replacement is the best option.
- Ceramic or Serrated Blades: As mentioned, these are generally not suitable for home sharpening. Once they lose their edge, replacement is usually necessary.
- Worn Blades: Over many years, the blade material itself can wear down, or the gap between the blades on a swivel peeler might widen too much, causing it to cut too deep or bind. At this point, even sharpening won’t restore optimal performance.
- Extensive Damage: If the blade is bent, chipped, or severely rusted, it’s safer and more effective to replace the peeler.
> “A sharp peeler transforms peeling from a chore into a seamless experience. It’s not just about efficiency; it’s about culinary confidence.” – Admin, reviewraui.com, Kitchen Tool Specialist
Conclusion
A dull potato peeler doesn’t have to be a permanent fixture in your kitchen. With the knowledge and techniques outlined in this guide, you can confidently sharpen your potato peeler, restoring its functionality and ensuring smooth, efficient peeling for years to come. Whether you opt for the quick fix of a ceramic mug or a more thorough approach with a whetstone, reviving your kitchen essential is a rewarding and practical skill. So, why settle for a struggling peeler when a few minutes of effort can bring it back to life? What’s the first vegetable you’ll peel with your newly sharpened potato peeler?
Frequently Asked Questions
Can all potato peelers be sharpened?
Most potato peelers with stainless steel or carbon steel blades can be sharpened. However, ceramic peelers and those with serrated blades are generally not suitable for home sharpening due to their specific material properties and edge designs, often requiring professional tools or replacement.
How often should I sharpen my potato peeler?
The frequency depends on usage. For most home cooks, a quick hone with a knife steel every few uses can maintain the edge. A full sharpening, using methods like a whetstone or diamond file, might be needed every few months or when you notice a significant decline in peeling performance.
What’s the easiest way to sharpen a potato peeler at home?
For a quick and easy touch-up, using the unglazed bottom of a ceramic mug is a surprisingly effective method. For slightly more dull blades, a honing rod or a metal nail file can quickly realign the edge and restore some sharpness with minimal effort.
What angle should I use to sharpen a potato peeler?
When using tools like a honing rod or file, aim for a shallow angle between 15 to 20 degrees. This approximates the original factory bevel of most peeler blades, ensuring effective sharpening without damaging the delicate edge. Consistency in this angle is key for best results.
Is it better to sharpen or replace a dull potato peeler?
If your potato peeler has a stainless steel or carbon steel blade and is otherwise in good condition, sharpening is often more economical and environmentally friendly than replacing it. However, if the blade is ceramic, serrated, or heavily damaged, replacement might be the more practical and safer option.
Cooking gear we tested in our own kitchens
Free PDF — preheat times measured on 10 popular air fryers.
